Showing posts with label Stampin' Up!. Show all posts

Saturday, 27 September 2014

Less is More Challenge - Week 191 Recipe: Mostly Words

Less is More Challenge -  Week 191 Recipe: Mostly Words


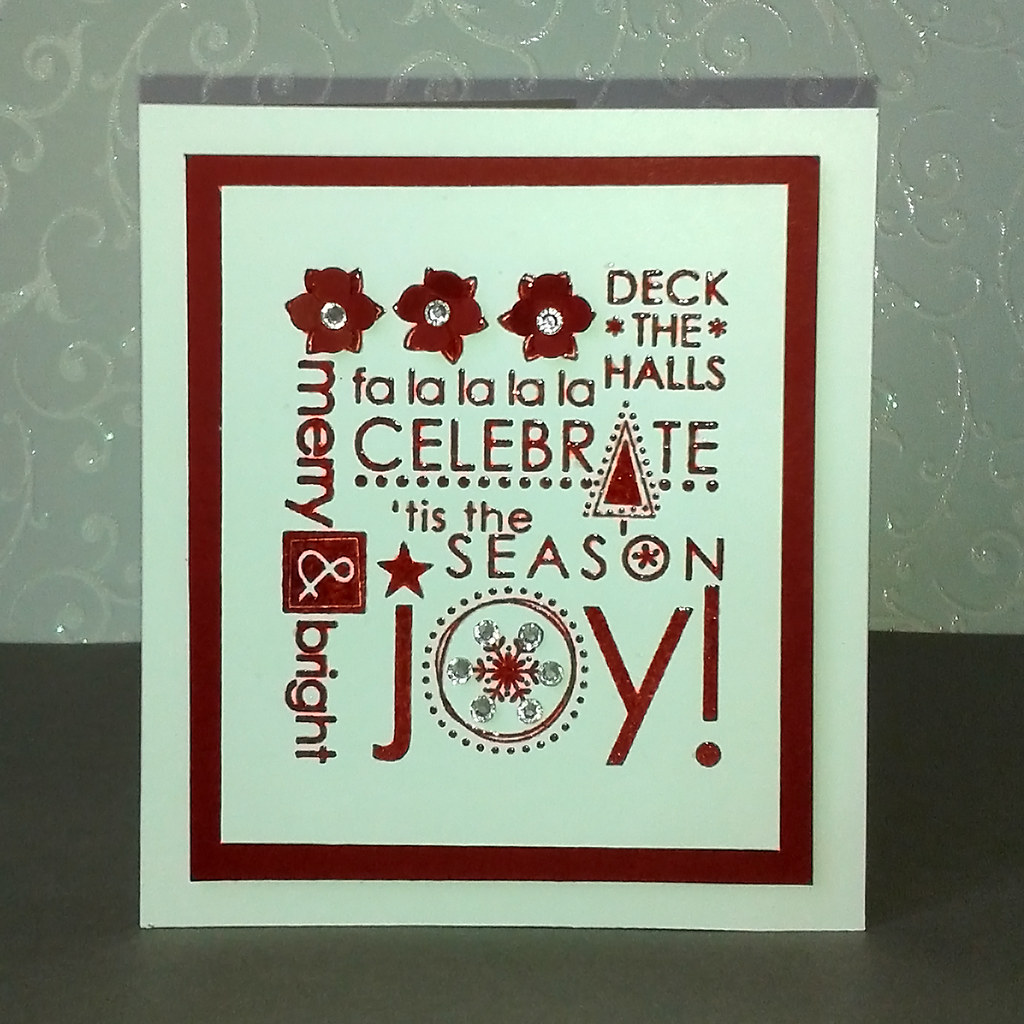
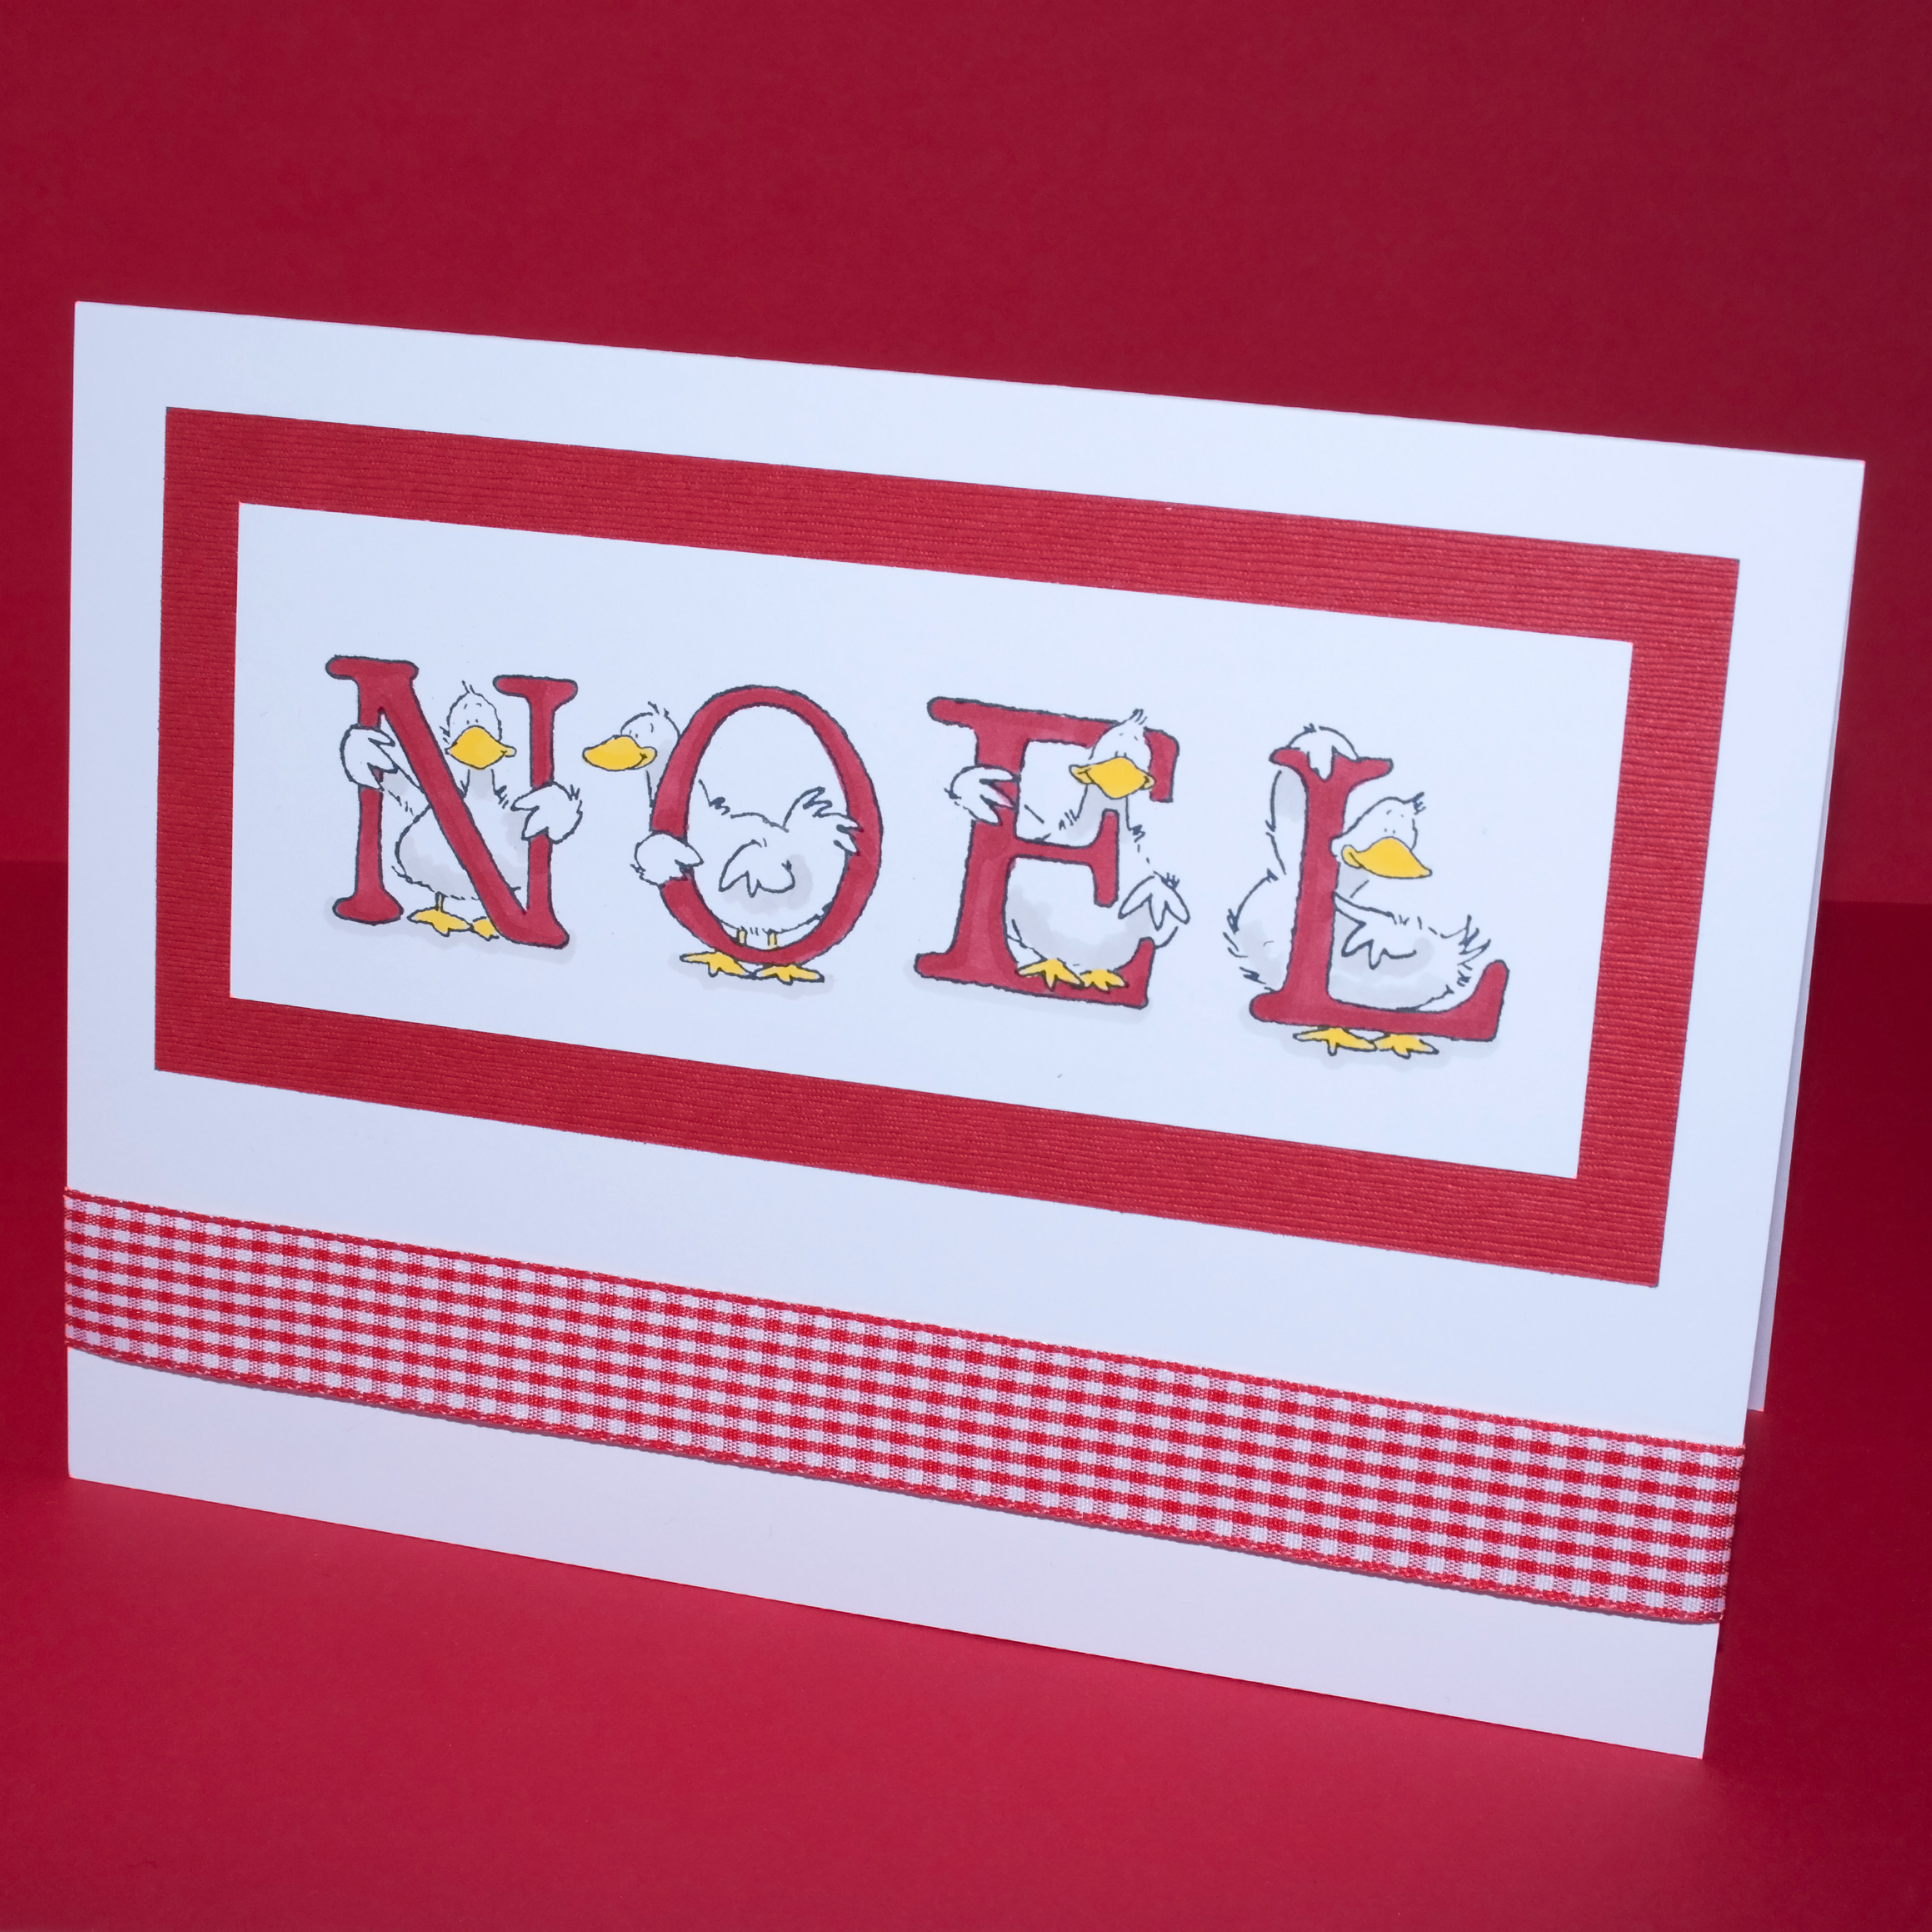
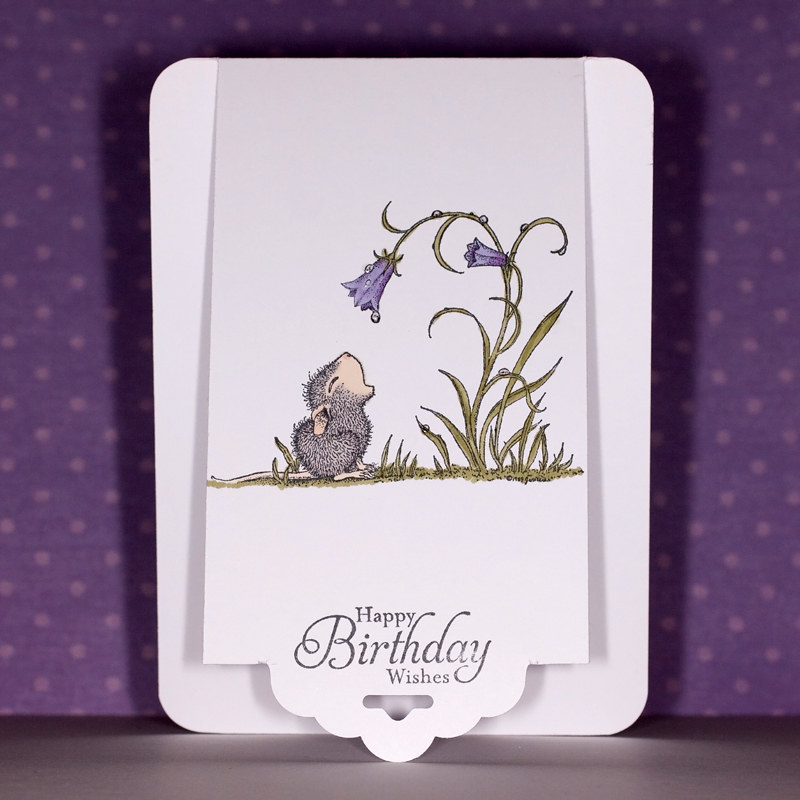
It was only when I was trying to decide what stamp set to use for this week's challenge that I realised that I don't actually have many of what I would call "wordy" stamps, and then I found this stamp from a discontinued Stampin' Up! set and thought it would be perfect!

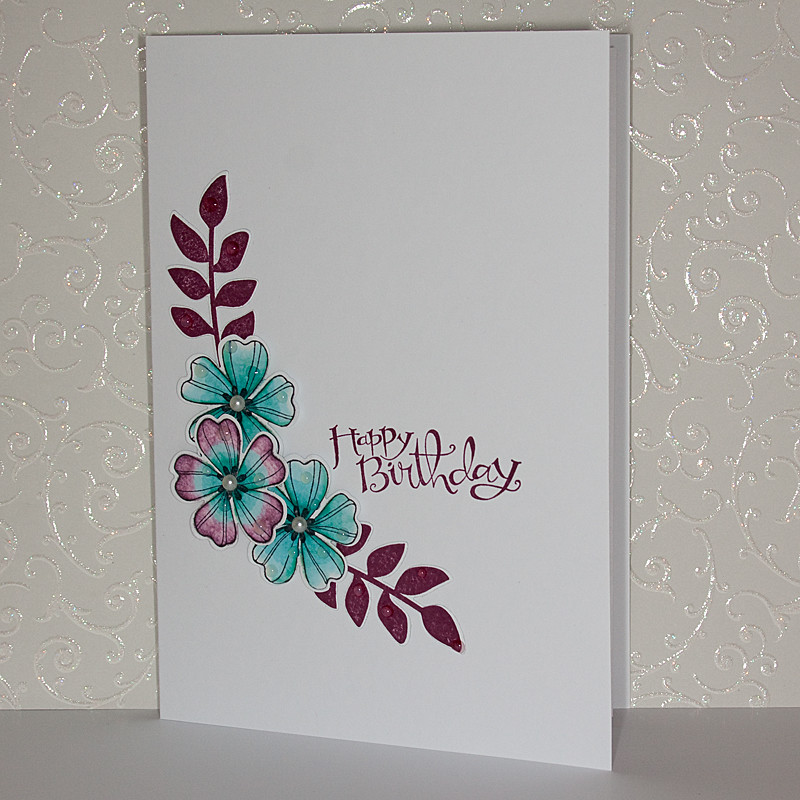
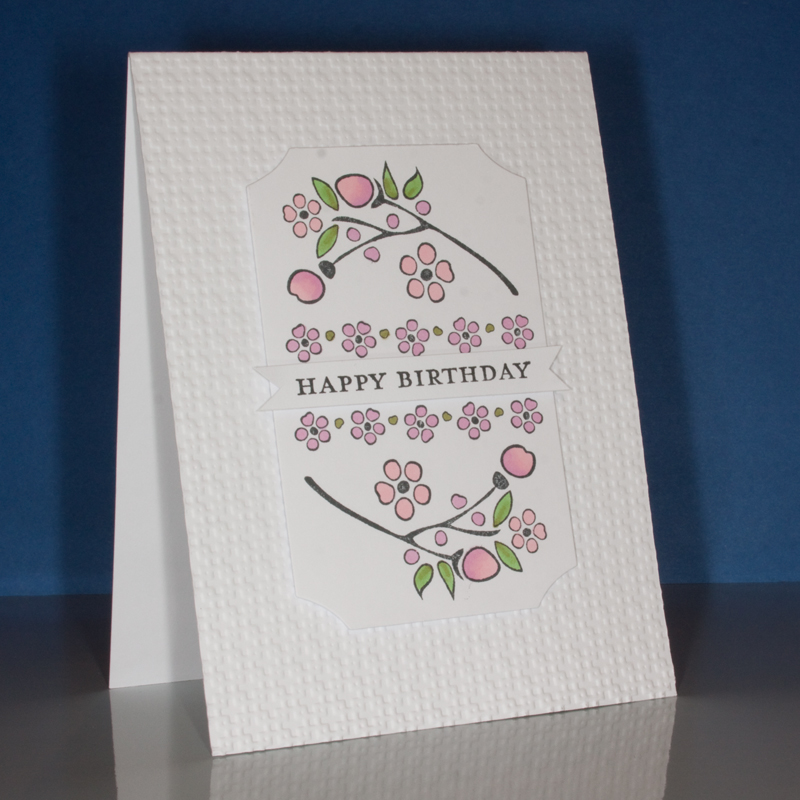
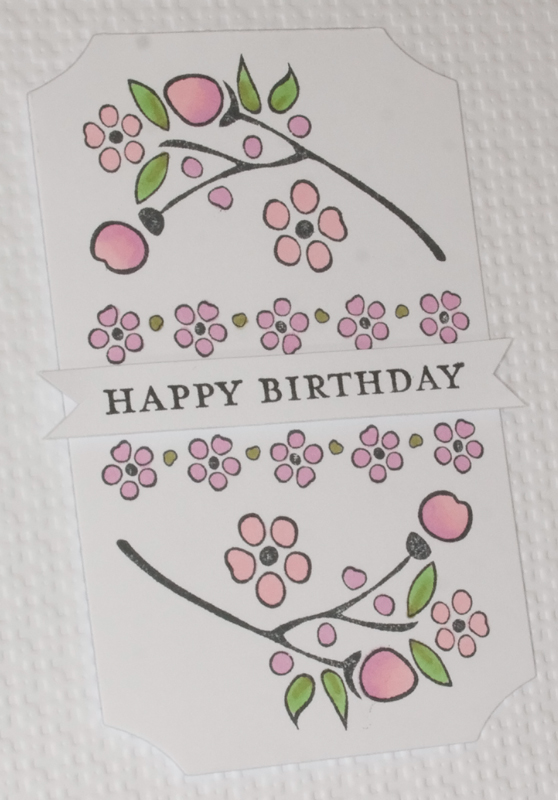
I've kept my card very simple. I stamped and heat embossed my image and then mounted it on to coordinating card stock.


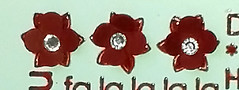
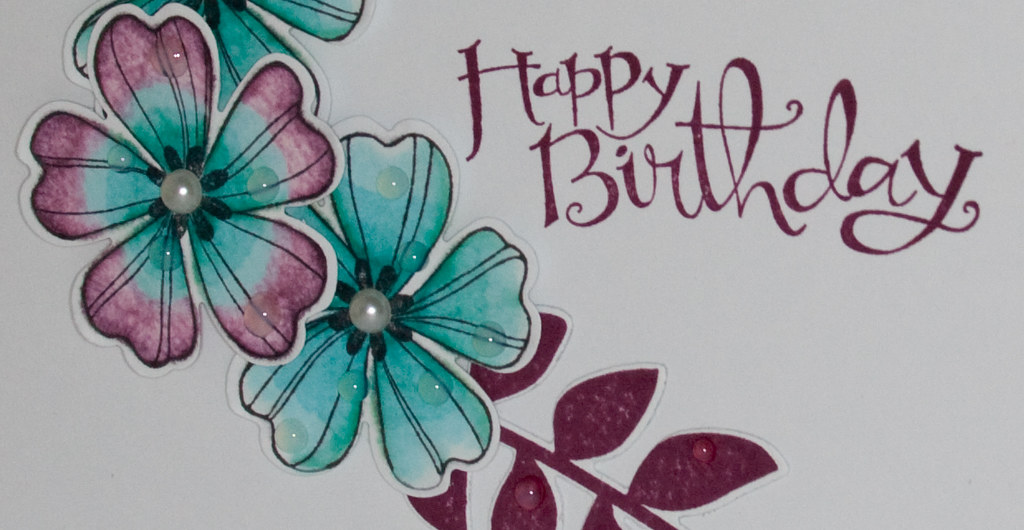
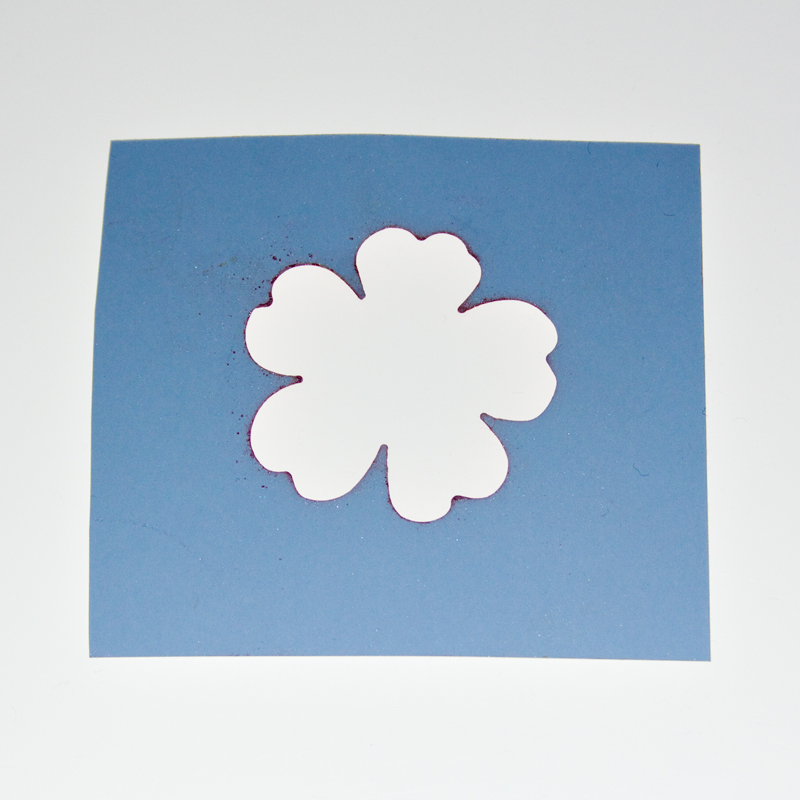
I've punched out three little flowers and added them to my image to give some dimension. Rhinestones give that little bit of Christmas sparkle!

Products used:
Whisper White Card - Stampin' Up!
Cherry Cobbler Card - Stampin' Up!
Stamp Set (name unknown) - Stampin' Up!
VersaMark Ink
Cherry Cobbler Ink - Stampin' Up!
Clear Embossing Powder
Basic Rhinestones - Stampin' Up!

You may also like:
    

Sunday, 20 July 2014

Happy Birthday

Less is More Challenge - Week 181 Theme - Singin' in the rain!


For my card this week, I decided to choose "Raindrops". Using one of my favourite stamp sets, together with one of my favourite colour combinations, I stamped and coloured my flowers, and then punched them out using the coordinating punch. The leaves were stamped and then cut out using the matching framelit.

I added Pearls to the centre of my flowers to finish them off. Then using Crystal Effects I created my "raindrops".

A sentiment was stamped on to the centre of my card using the coordinating ink. 


Products used:
Flower Shop Stamp Set - Stampin' Up!
Pansy Punch - Stampin' Up!
Secret Garden Stamp Set - Stampin' Up!
Secret Garden Framelits - Stampin' Up!
Sassy Salutation Stamp Set - Stampin' Up!
Rich Razzleberry Blendabilities - Stampin' Up!
Coastal Cabana Blendabilities - Stampin' Up!
Basic Pearls - Stampin' Up!
Rich Razzleberry Ink - Stampin' Up!
Crystal Effect - Stampin' Up!
Card stock form stash


You may also like:
    

Saturday, 5 July 2014

Happy Birthday Wishes

Less is More Challenge -  Earth Tones


Earth Tones are not my normal "go to" colours, but I really enjoyed this challenge. I stamped directly on to the base of my card, and then cut an aperture in to my top piece of card, and added my sentiment. I continued my flower theme inside of my card by stamping the largest flower on to the bottom left corner.


I stamped and punched out a small butterfly, added some pearls for its body, then stuck this inside the aperture.

Products used:
Window Frame Collection Framelits - Stampin' Up!
Simple Stems Stamp Set - Stampin' Up!
Simply Sketched Stamp Set (Sentiment) - Stampin' Up!
Papillon Potpourri Stamp Set - Stampin' Up!
Soft Suede, Wild Wasabi, Calypso Coral and So Saffron Ink Pads - Stampin' Up!
Basic Pearls - Stampin' Up!
Butterfly Punch - Stampin' Up!
Card stock from stash

You may also like:
    

Monday, 14 April 2014

Birthday Greetings

Less is More Challenge -  ONE LAYER CARD - Shadow Stamping


I cut my card base in to a square, and scored a border around the edge to create a frame to work within. Using one of my Circle Dies, I cut out an aperture in the centre of my card, and I stamped my flower and leaves several times before re-inking

With the aid of my stamp-a-ma-jig, I positioned my Birthday Greetings in the centre of the aperture. 

Products used:
Pretty Impatiens Stamp Set - Cardio Majestix
Circles Collections Framelits Dies -Stampin' Up!
Wetlands (Sentiment) - Stampin' Up!
Rich Razzleberry Ink - Stampin' Up!
Garden Green Ink - Stampin' Up!
Cardstock from stash

You may also like:
    

Thursday, 20 March 2014

Happy Birthday

CAS(E) this Sketch:  #69


I made a textured background for my image, with an embossing folder.  The topper has been made by using one of a nesting set of frame dies.

With the border stamp from my set, I stamped two rows, leaving space in the middle for my sentiment. I then stamped my main image twice.  It has all been coloured in with Promarkers.

Products used:
Square Lattice Embossing Folder - Stampin' Up!
Bordering on Romance Stamp Set - Stampin' Up!
Morning Meadow Stamp Set for Sentiment - Stampin' Up!
Nesting Set of Frame Dies - Sizzix
Promarkers
Card from Stash

You may also like:
    

Sunday, 16 March 2014

Happy Birthday

Less is More Challenge -  Week 163 Theme MASKING OR STENCILLING


This challenge was going to prove interesting for me, as I don't actually have any stencils! So I decided to follow Chrissie's idea of using a punch to make my own stencil.

I have used my Flower Shop Punch to make a flower stencil. I love the soft subtle effect that you get from using chalks so decided to colour my stencil with them. I've used an embossing folder to create the front of my card.

 I had a panel of card that I positioned my stencil along and used two different coloured chalks.I hand cut round these flowers.  My third colour was darker and I cut these out using the Flower Punch and raised them up on 3D pads for a bit of extra dimension. I tucked a happy birthday banner in between my flowers.

This is the stencil I made and coloured over.

Products used:
Flower Shop Punch - Stampin' Up!
Pretty Print Textured Impressions Embossing Folder - Stampin' Up!
Pearlescent Chalks - Pebbles Inc.
Happy Birthday Stamp - Docraft
Cardstock, Rhinestones from Stash

You may also like:
    

Friday, 14 March 2014

Birthday Card with Bookmark

CAS(E) this Sketch:  #68


This weeks challenge, gave me the opportunity to try something that I've been wanting to do, since I received my Scallop Tag Topper Punch, and that is to make a bookmark with it.

The layout of the sketch meant that I could make my bookmark and slide it behind my sentiment panel.

I cut a 5cm panel out of Crisp Cantaloupe card stock, and shaped it with my Scallop Tag Topper Punch. My Owl Punch has been used to decorate it. A piece of ribbon was threaded through the top and tied together with some brown embroidery thread.

My second banner was made by using a scrap of Sweet Sorbet Designer Series Paper. I wanted my sentiment banner to tie in with my bookmark, so used my Scalloped Tag Topper Punch on both ends of a scrap of Naturals Ivory card stock. I used my Woodland Branch die to cut a branch for my Owl to perch on.  Some 3D pads were used behind my Owl to raise him up, so that he could slide down to rest on his perch. A couple of brads were used on either side of my sentiment banner to hold it to the front of the card, leaving space for the bookmark to slide behind. 


Products used:
Baked Brown Sugar, Crisp Cantaloupe, Naturals Ivory Card stock - Stampin' Up!
Scallop Tag Topper Punch - Stampin' Up!
Owl Punch - Stampin' Up!
Sweet Sorbet Designer Series Paper - Stampin' Up!
Woodland Branch Die - Memory Box
Morning Meadow - Stampin' Up!
Brads, Ribbon and Embroidery Thread from stash

You may also like:
    

Saturday, 8 March 2014

Happy Birthday Wishes

Less is More Challenge -  One Layer Card: Spring Flowers


A one layer card, always a difficult one! I wanted a slightly different card base, so used my tag topper punch, and cut away both edges, to create a tag front to my card.

I've used one of my favourite stamps, and coloured it in using Promarkers. I added a little bit of Crystal Effects to make my "dew drops"

I wanted my sentiment to fit in to the bottom of my tag shape, so used my stamp-a-ma-jig to position it.


Products used:
Waiting For A Dew Drop - Stampabilities House Mouse
Simply Sketched Stamp Set - Stampin' Up!
Scallop Tag Topper Punch - Stampin' Up!
Promarkers
Cardstock from stash
Crystal Effects - Stampin' Up!

You may also like: