Wednesday, 27 November 2013

Born to Shop

CAS.ology   Week 72: SHOP


For this week's Casology challenge "Shop" I couldn't resist using this freebie stamp set from Born to Shop.

The sentiment was perfect for the challenge!

I've coloured my image in using Promarkers.


Products used:
Born to Shop stamp set - Bubbles
Promarkers
Card from stash

You may also like:
   

Saturday, 23 November 2013

Noel

Less is More Challenge -   Christmas Cards - Use a Bird!


Isn't it funny how sometimes you can look at a challenge and initially have no idea, whilst at other times you know exactly what you want to do!!

That's what happened to me to day with the challenge over at Less is More, which is to make a Christmas card using a bird. I knew that I wanted to used one of my all time favourite stamps from Penny Black called Duck Noel.  

I love the simplicity of this stamp, sentiment and image all in one. I've used my Promarker's to colour it in.

A touch of gingham ribbon across the bottom just adds that finishing touch.


Products used:
Duck Noel - Penny Black
Gingham Ribbon - Hobby Craft
Promarkers
Card from stash

You may also like:
    

Tuesday, 19 November 2013

Gently Falling Leaves

colourQ challenge:   #216


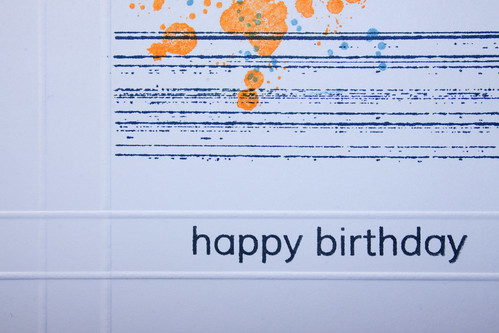
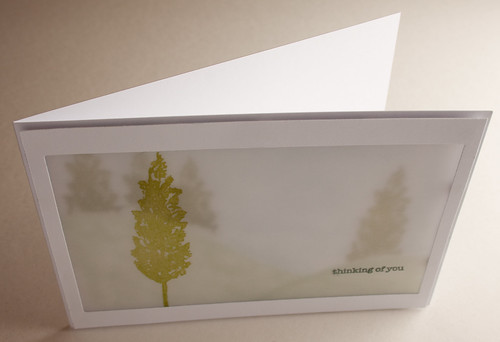
As usual the colours over at ColourQ this week challenged me to use colours that I wouldn't think to put together!

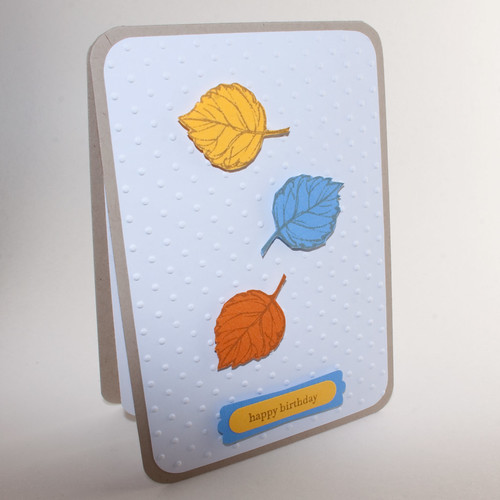
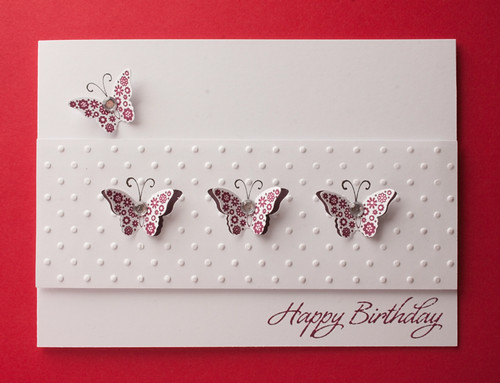
I used a crumb cake card base, to which I added a white embossed background for my leaves.

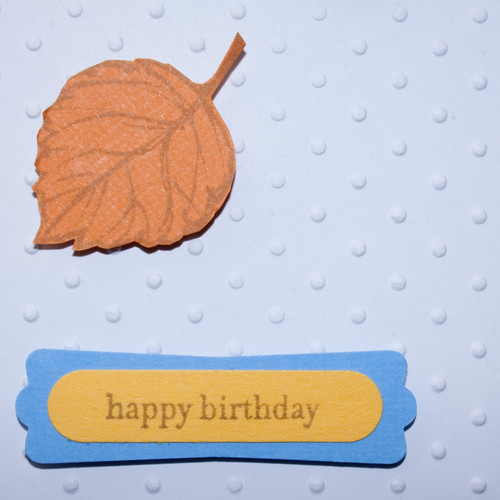
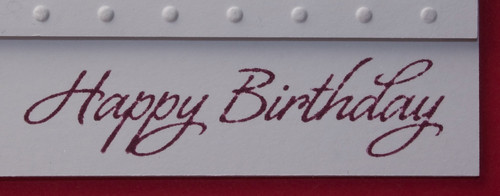
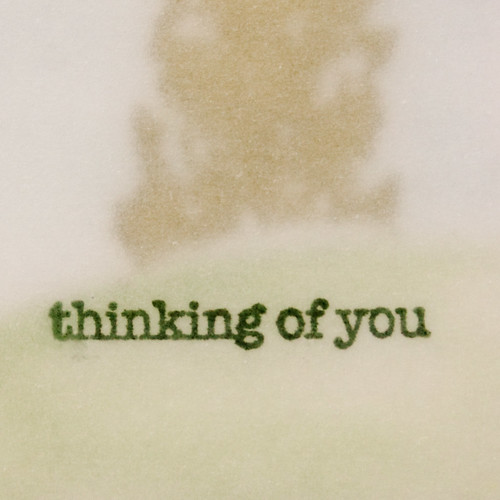
In keeping with the soft muted colours, I choose to use crumb cake ink for both my sentiment and the leaves.

I cut the leaves out by hand, and mounted both these and the sentiment on 3D pads for added dimension.


Products used:
Gently Falling Stamp Set - Stampin' Up!
Teeny Tiny Sentiments Stamp Set - Stampin' Up!
Crumb Cake Ink Pad - Stampin' Up!
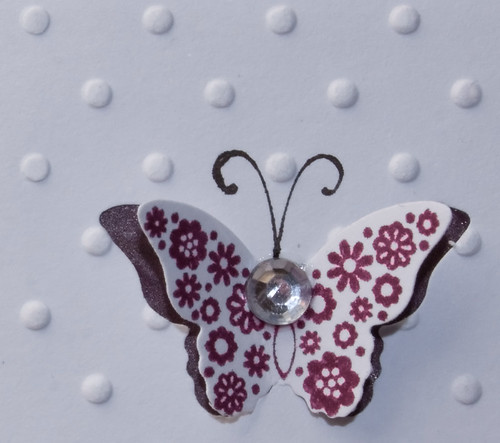
Perfect Polka Dot Embossing Folder - Stampin' Up!
Crumb Cake Card - Stampin' Up!
Word Window Punch - Stampin' Up!
Modern Label Punch - Stampin' Up!
All other card from stash

You may also like:
    

Monday, 18 November 2013

Cards for teenagers


I always find cards for boys, especially teenagers difficult, but with these stamp sets there are lots of options.


Two rows of embossed lines frame the stamped image.

.....and here's one for the girls.


Products used:
Gorgeous Grunge Stamp Set - Stampin' Up!
Teen Routine Stamp Set - Paper Smooches
A Little Sentimental Stamp Set - Clearly Besotted
Marina Mist Stampin' Spot - Stampin' Up!
Night of Navy Stampin' Spot - Stampin' Up!
Pumpkin Pie Stampin' Spot - Stampin' Up!
Rich Razzleberry Stampin' Spot - Stampin' Up!
Pretty in Pink Stampin' Spot - Stampin' Up!
Certainly Celery Stampin' Spot - Stampin' Up!

You may also like:
    

Saturday, 16 November 2013

Happy Birthday


We've all got designer paper hidden away in our stash, but when you're making cards with a CAS design its often difficult to incorporate on to your cards.

This week's challenge over at Less Is More is to use designer paper in a CAS way, so I've used mine as a background colour, behind the punched out butterflies on the embossed panel.

The butterfly was stamped and punched out, then glued into the punched aperture. To add a little extra sparkle, I've added a rhinestone to each butterfly.

Using my Stamp-a-ma-jig I stamped my sentiment in to the bottom right hand corner to balance my card.


Products used:
Papillon Potpourri Stamp Set - Stampin' Up!
Salutations Stamp Set - Paper Smooches
Perfect Polka Dots Textured Impressions - Sizzix Stampin' Up!
Rich Razzleberry Stampin' Spot - Stampin' Up!
Basic Black Stampin' Spot - Stampin' Up!
Designer Paper - Creative Memories
Card and Rhinestones from stash

You may also like:
    

Saturday, 9 November 2013

thinking of you

CAS(E) this Sketch:   #53

I made a background for my card by creating hills with a mask and chalk, shaped to fit in with the sketch. Still using my mask I stamped my tree image several times to blend in to the background.  The top image has been stamped on to vellum and raised on 3D pads to give some perspective.

The sentiment was stamped on to the vellum to make it stand out.


By stamping my tree image on to the vellum, I was trying to create some depth.


Products used:
Gently Falling stamp set - Stampin' Up!
Teeny Tiny Sentiments - Stampin' Up!
Old Olive Ink - Stampin' Up!
Pastel Chalks - Pebbles Inc. 
3D Pads
Vellum and Card from stash

Thanks so much

Less is More Challenge -   One Layer Cards - Thank You

Something new from me today. Trawling round blog land, I keep seeing the phrase "Emboss Resist Technique". Thanks to the wonders of Google and You Tube, I looked this up, then decided to use the technique for my Less Is More One Layer Thank You card. 

I stamped and clear heat embossed my image on to a white card blank. Using my Marina Mist Ink Spot, I sponged the ink over the entire card.  With a piece of kitchen roll I wiped the excess ink from the embossed image.

In keeping with the challenge I've used the phrase "Thanks So Much".

Having tried this technique, I'm really impressed with the result it gives. It's something I will definitely use again.


Products used:
Quint-Essential Flower stamp - Stampin' Up!
Marina Mist stampin' spot - Stampin' Up!
Watermark stamp pad - VersaMark
Tuxedo Black ink - Memento
Salutations - Paper Smooches
Clear Embossing Powder - Funstamps